


Article and Media by Logan Nelson.
Hey there, peeps! Just so you know who’s talking here, my name is Logan Nelson and I’m a senior digital media major at Greenville College. Me ↓↓

Being a photographer, videographer, editor, etc., I geek out immensely about cameras, camera gear, editing processes, and everything behind the scenes of media. I’m sure there are a few people out there who do the same, so here are some technical details about how I achieved the look in the video below.
Battle Station
My work space is vital to my efficiency. I edit with a 2015 Macbook Pro Retina 15 with 16GB of RAM, a 2.8 GHz Intel Core i7, and 2GB of vRAM. When editing, it helps IMMENSELY to have an external monitor. There are a plethora of things within the software that simultaneously need to be viewed and accessed. The extra room that another screen provides significantly enhances efficiency, which makes editing more enjoyable.
I’m currently using a 30 inch Apple Cinema Display (2560 x 1600) and it’s great. I also have assortment external hard drives (17 TB) that house different projects. Most projects I currently work on are put onto my LaCie Rugged Triple 1 TB drive. This enables me to work wherever, whenever. I enjoy working on the Apple trackpad but an actual mouse is much better. The Logitech MX Master wireless mouse that I own is freaking amazing. It has eight different buttons that can all be customized to do anything. My favorite is the thumb scroll wheel, which is great for horizontally scrolling through the timeline of a video. Check out my station below.

Camera and Gear Used
For this video, I shot with:
I used the 50mm because of it’s 1.4 aperture. The wider the aperture (the smaller the number) the shallower the depth of field becomes. Having a shallow depth of field means that a single area in the frame will be in focus while the rest is out of focus. Below is how I achieved the overall look of the video. I did this by making the berries in focus and everything else behind them blurry. This is called bokeh (having one thing in focus and the rest out of focus). Next, is my variable ND filter. Having a wide aperture also allows light through the lens to the sensor. Basically, an ND filter stops some of that light from reaching the sensor. It’s sunglasses for your camera. 
Because I wanted a raw, shaky feel to the video, I used my shoulder rig. This is one of my favorite pieces of gear because it works for everything and is quick and portable. Out of my gear, I used my shoulder rig the most while working as a video producer at a summer camp.

Software
 All of my editing is done in Adobe Premiere Pro, an industry standard. If you want to get into this field, start learning. The amount of support, tutorials, plugins, etc. that is out there for Adobe is endless.
Currently, you can’t buy one of the Adobe programs and call it good. You have to pay monthly for the Creative Cloud suite, which comes with many other flagship programs. Some people complain about this but I love it because you constantly receive updates. It’s also beneficial because you can install and work on any computer by logging onto your account. I pay for a student membership, which is $20/month.
Plug-ins
For this project, I used a plug-in from Red Giant called Universe. It has a wide variety of customizable features and effects. One of those is a glitch effect, which is what I used to achieve the glitch in and out of the text I had on screen. I also used it to put grain on the video.
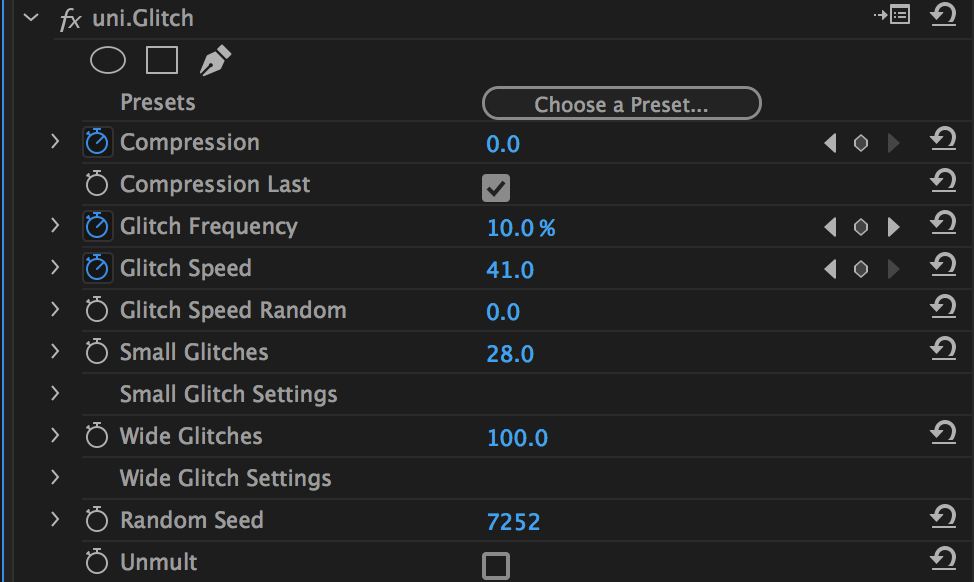
To use this effect you have to install the Red Giant Link program, log into your account, and install Universe. It will detect and install into any, and all, Universe-compatible hosts on your system. Yes, you have to pay for this, and yes, it’s expensive. There may or may not be ways around it. Don’t steal software.
Color
On this project, I used the Lumetri Color that’s built into Premiere. You can place color effects directly onto clips. However, a more efficient way is to use an adjustment layer above the clip. This makes it easier to remove it in the future or place the same color to multiple clips.


That’s pretty much it for this project. It was fairly simple and took me about four hours, so not bad at all. Feel free to message me with any questions about media!


