


Written by Erica Siddle. Media by Bri Phillips.
As summer rolls around, fashion trends are starting to gear towards the brighter end of the color spectrum. And why not?! Nature has once again adorned its colorful coat, and we should too! This year though, things are going to be different. It’s time to take a fashion stand against blindingly fluorescent solids and start incorporating multiple colors, in a much less obnoxious way. The only solution is tie-dye…well, it may not be the only solution, but it is definitely the most fun! Here’s a quick step-by-step guide to making your very own tie-dye creations at a cost that doesn’t hurt the budget of a college student.
What you will need:
Dye Kit from Wal-Mart – $10
Three shirts of your choice – $7.00
- Wal-Mart sells them in packs of three if you have to purchase them. Buying your shirts in bulk is cheaper than buying them individually in the crafting section.
Large trash bags
Rubber bands
- These are optional and are usually included with most kits.
1. Prepare your work station!
- In the past I have been known to overlook this step due to the excitement of the project, but it simply is one that should never be forgotten. You will be working with dye here people. It will change the colors of your shirts and the color of your floor.
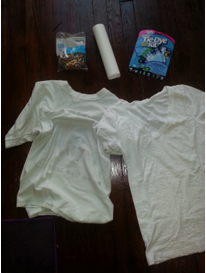
photo by Erica Siddle - I have found that using trash bags is the easiest way to protect your floor. The liquid doesn’t get absorbed into the plastic and you can use the bags to tie up your project for the night when you are finished dyeing.
2. Prepare your dye and shirts!
- Dye: For this project, I chose to use a dye kit from Wal-Mart. To prepare my dye, all I had to do was add water to the bottles included and shake them a few times.
- Shirts: Before dyeing any new clothing, be sure to pre-wash it to remove sizing. Do not use detergent or fabric softener; a simple rinse cycle will do just fine. It is up to you if you would like to dye your shirts wet or dry, but I prefer wet. The shirts are easier to manipulate and absorb the dye much faster.
3. Dyeing your shirts.
- For this dye session, I will be doing the basic spiral design.
The Single Spiral
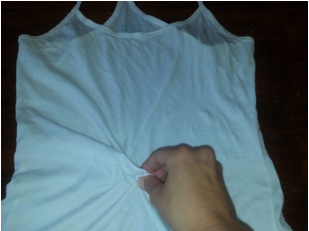
1. Lay your shirt flat on the ground in front of you and pinch the fabric around where your belly button sits.
2. Twist your fingers to begin the spiral twirl and begin wrapping the fabric around your pinch. Continue twisting until it resembles the shape of a cinnamon roll.
*Rubberbanding the outside of the roll helps keep the roll tight throughout the entire process.*
3. Apply dye to shirt! Don’t forget to apply dye to both sides of the shirt or the back will be substantially lighter than the front.
4. Tie up your shirt in the trash bag and let it sit for at least 4 to 24 hours. Remember: the longer it sets, the darker the dye will be!
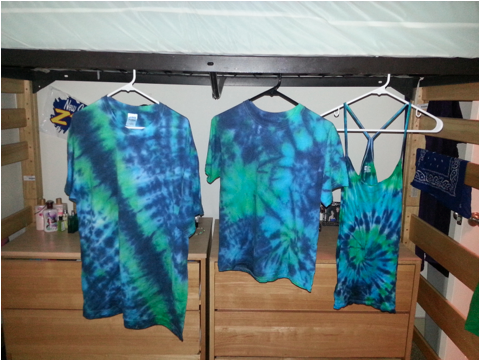
5. When you are ready to rinse your shirts, remove them from the bag and rinse them out using COLD running water. If you use warm water, your darker dyes will run into the lighter ones and your shirt will turn brown. Rinse until the water is pretty clear, then hang your shirt out to air dry.
After the shirt dries you can run it through your washer or adorn it then and there!
I hope you enjoyed this tutorial! For more dyeing tips and how-to’s, visit dharmatrading.com They have tons of tutorials available as well as a variety of tie-dyeing products!


